Monday, December 30, 2013

Thanksgiving 2013

I really should have posted this before Thanksgiving, but I let life get in the way and I’m finally getting around to it.  This year we hosted our very first Thanksgiving dinner the Sunday before Thanksgiving.  Everyone brought a dish and we took care of the turkey, rolls, and a dessert.  I also wanted to dress up the house a little, so I made a Thankful Tree and napkin rings both of which were made from nature’s bounty.

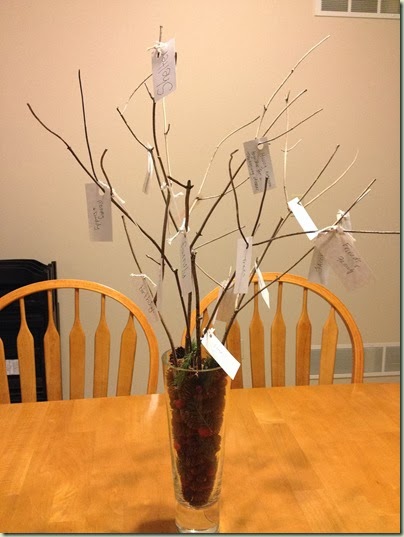
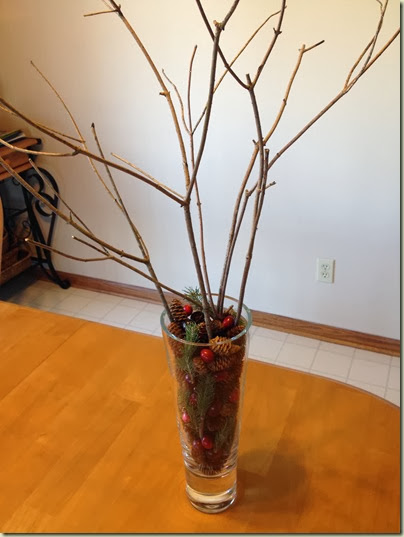
The Thankful Tree came from an idea off Pinterest.  We have a wooded area a block away, so the little guy and I went searching for branches.  We also collected pinecones and evergreen tips from the trees in our backyard.  Before using the pinecones I baked them at 200F for 20 minutes to kill any creepy crawlers that made the pinecones their home. After 20 minutes I turned off the oven and left them in there for about an hour to cool (you can take them out right away, I was just busy with other preparations).  I put the branches in a tall vase and then filled it with the pinecones, evergreen tips, and some cranberries. 

Thanksgiving 2013 009

I made tags from white pieces of paper and punched holes in the corner.  Our guests wrote down what they were thankful for and hung them on the tree. Most of the tags hung with just the hole, but some people used the string I provided to tie theirs on. 

Thanksgiving 2013 012

I made napkin rings with extra evergreen tips, pinecones and cranberries.  I hot glued the tips together then hot glued the pinecones and three cranberries on.  I wrapped them around the napkins and that was it.  So pretty and festive!

Napkin Rings

I also made a flower arrangement with a $10 bouquet from Walmart and this pretty white vase.

Thanksgiving 2013 005

Sometimes it is just the little extra touches that set the tone. I never got around to taking pictures of the whole set up, but it was so nice to get together with my family and enjoying a great dinner and company.

Tuesday, December 24, 2013

A Soldier's Silent Night


I heard this song a few years ago and it always brings strong emotions to me when I hear it.  It is the morning before Christmas and I just want to wish all those near and far a very Merry Christmas!

Saturday, November 30, 2013

DIY Advent Calendar

Since the little guy is almost 5 and all about counting these days I thought this was the perfect year to introduce an Advent Calendar.  We just put up our tree and he’s asked at least 6 times how many days until Christmas so this is perfect for him to count down.

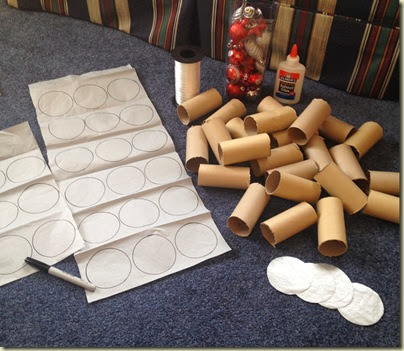
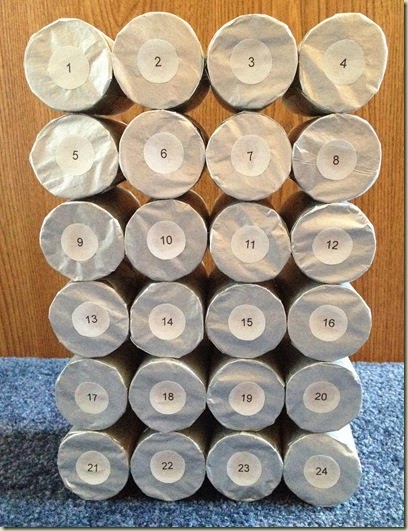
I had a really hard time finding one I liked so I decided to make one instead.  I made this using a few different ideas from Pinterest and they used toilet paper rolls, but I made this last minute so no tp rolls.  Instead I used three wrapping paper rolls that were all the same diameter (not the skinny ones).  I cut each roll using a serrated steak knife into 8 pieces that were about 3-3/4” long.

  DIY Advent Calendar 001

Using a ribbon spool, I made circles on silver tissue paper that were about twice the diameter of the rolls.  I cut them out and then glued them onto one side with Elmer’s glue. I found it easiest to first put down four sides then wrap your hand around it and smooth it down.

gluing tissue paper

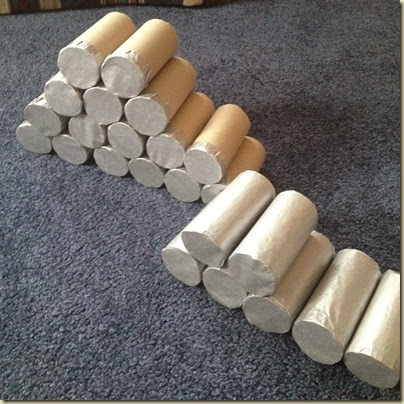
Next I wrapped each roll with more silver tissue paper. I didn’t have quite enough to wrap them completely so I had to leave a little bit unwrapped but I figured it wouldn’t show by the time I was done.

DIY Advent Calendar 009

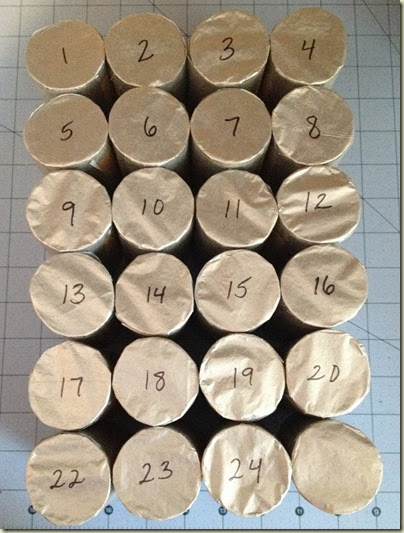
Next up, you can either glue them into a pyramid “tree” shape with three coming down for a tree trunk or glue them together into a 4 x 6 grid using a hot glue gun.  Then write the numbers 1 – 24 on each one (or if you are like me and accidently skipped number 21, then print out numbers and glue them on). 

DIY Advent Calendar 014

Oops!

DIY Advent Calendar 018

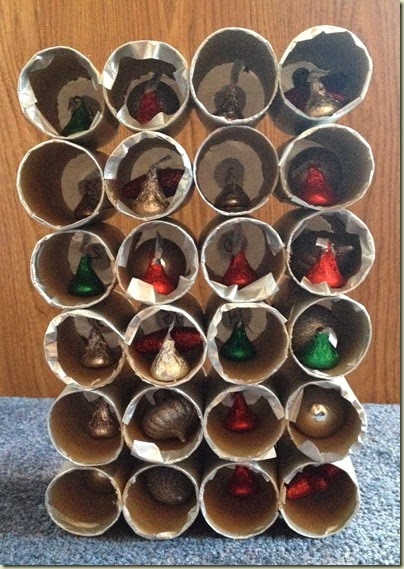
I found a 24 pack of small ornaments while shopping on Friday but only half of them actually fit inside so I filled them up with an ornament or Hershey kiss or both.

DIY Advent Calendar 017

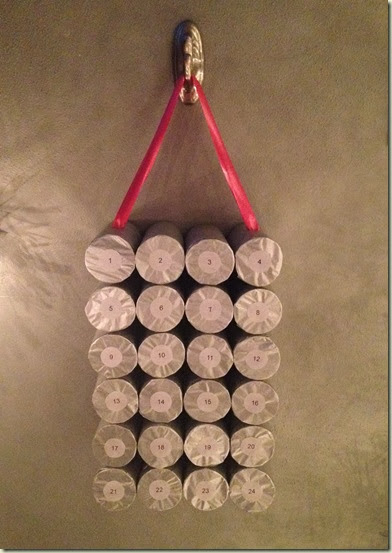
To hang it I cut a slit midway along the top of the outer rolls and slid in wide curling ribbon and tied the ends.  The little guy should be able to break the tissue paper really easily and get the prize inside!  I’m super excited to start this new tradition with him.

DIY Advent Calendar 020

*My rolls started falling apart, so I made a quick modification and wrapped ribbon around the entire outside to hold it all together.

Sunday, October 27, 2013

Polka Dot Flower Arrangements

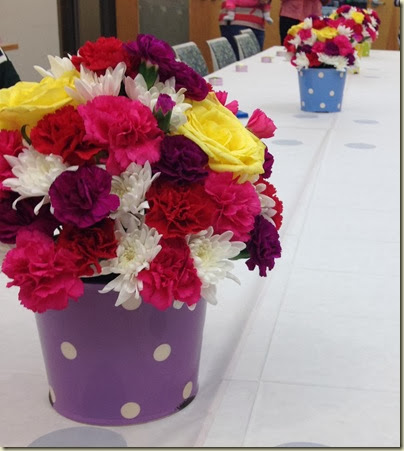
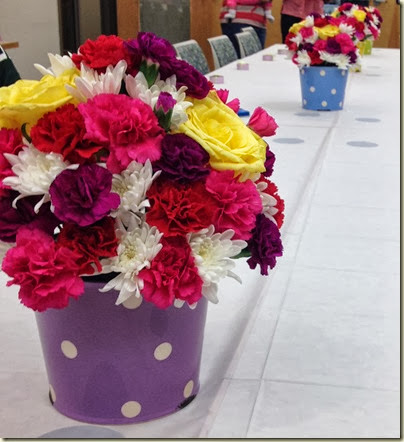
For the Cute As A Button shower I made these flower arrangements in polka dot pots.

Polka dot flowers

I took a 2 hour flower arranging class a few years ago and surprisingly a couple things stuck with me.  I really enjoy doing this and it is easier than you might think.  I apologize, but the pictures below all ended up washed out.  I blame the bad lighting in my kitchen.

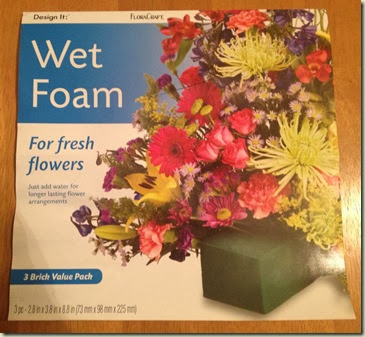
You will need wet flower foam (make sure it is the wet kind).  It comes in a block, but you can cut it easily with a knife. 

IMG_3052

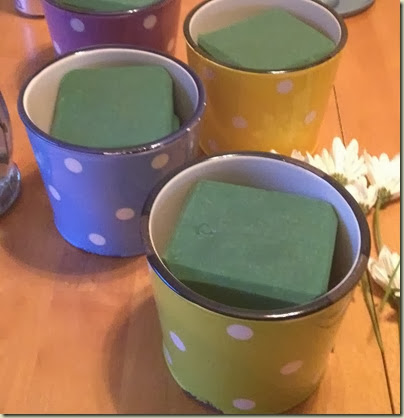
It doesn’t need to fill the entire space, just fit inside and close to the top of the container. Fill up a large container of water or the sink with water and let the block of foam float and it will slowly fill with water and fall to the bottom. Then place it into your container.

IMG_3037

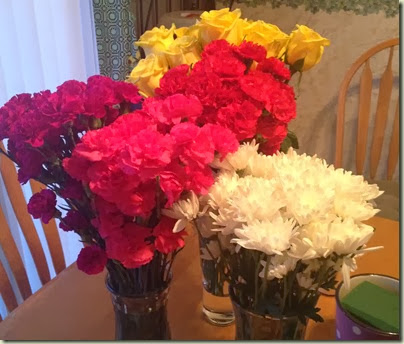
Next you will need flowers.  I bought these bunches at Sam’s Club.  For these arrangements I used white mums, pink, red, and purple carnations, and yellow roses.

IMG_3036

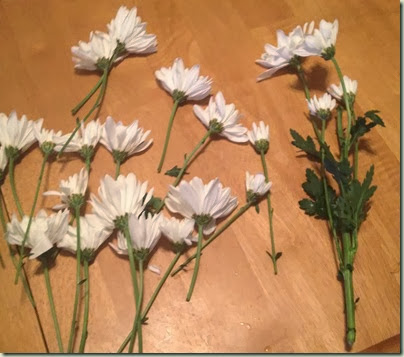
You will begin by cutting the the flowers into individual stems and remove all the leaves.

IMG_3041

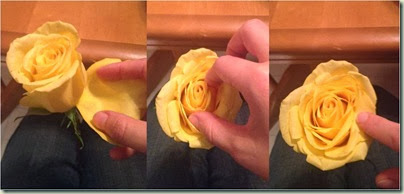
The next step is to open up the roses.  You do this by removing 5-6 outside petals.  Then using your finger, starting from the outside, run it in circles towards the center of the flower.  This will loosen the petals and make them fuller.

opening roses

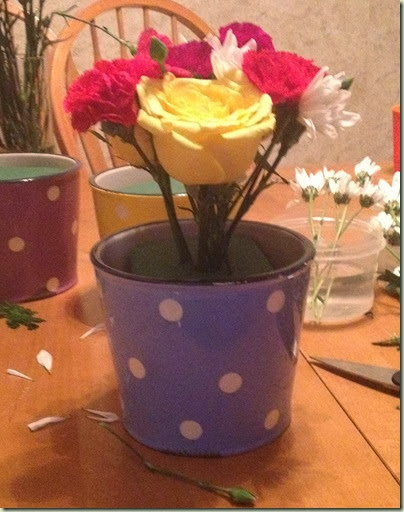
Now it’s time to build the arrangements.  I used three roses and put those in first in a circle near the center.  Then fill in the top part of the arrangement with the other flowers mixing the colors around. 

IMG_3045

Here’s a view from the side so you can see about how high I started the arrangements. 

IMG_3046

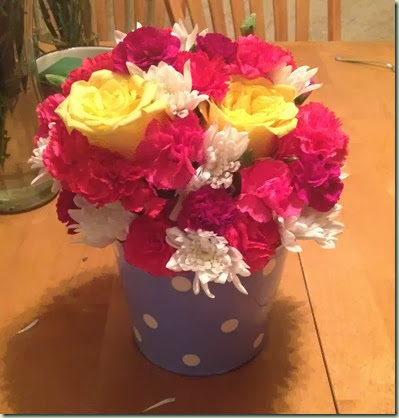
Now, all you need to do is keep filling in around the bottom alternating colors.  I did this by adding one color of carnation throughout, then another color, and then the third color.  I finished by adding in the white mums as an accent color throughout the colors. 

IMG_3048

IMG_3054

And voila!  Four simple bunches of flowers turned into unique and beautiful arrangements!  For those curious about the cost, the containers were on clearance for $3 each, the wet foam is about $8 which was enough for all four pots, and the bunches of flowers were about $36.  So each arrangement cost me $14. 

Saturday, October 5, 2013

Cute As A Button!

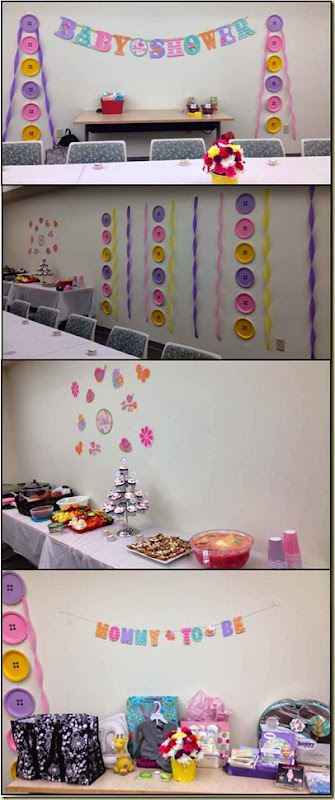
My coworker is having her first baby next month.  We hosted a shower for her last night at work and we chose “Cute As A Button” as our theme.  It was a lot of fun to put together and I think it turned out so cute! 

Another coworker looked to Pinterest and saw the idea of using colored paper plates and adding black dots to make them look like buttons and then strung them together with curling ribbon. 

Cute As A Button

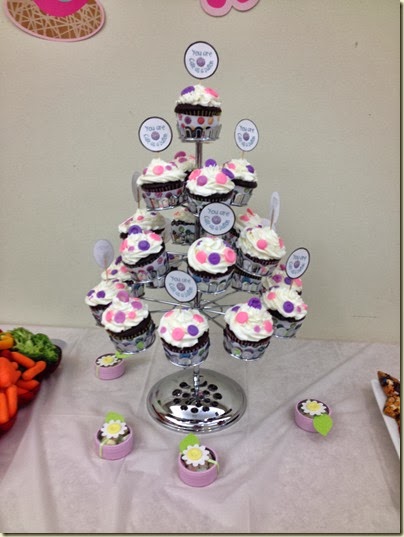
I made cupcakes and decorated them with chocolate buttons using a mold.  I found a blog with button cupcake wrappers and toppers, which brought everything together nicely.

Cute As A Button CupcakeIMG_3066

My coworker also found these cute tins with a flower and button in the center.  She filled them with pillow mints and were a cute favor for everyone to take home.

I also made these flower arrangements using polka dot pots I found on clearance at Stein’s last fall.  I was just waiting for the opportunity to use them, and they were perfect for the shower.

Polka dot flowers

Saturday, August 31, 2013

Carnival (Circus) Themed Party

Every year we have a party at work that we call our Spring Social.  It used to be a wine and cheese party that has expanded into more elaborate parties.  We’ve done a mini-golf theme where everyone was put in teams and they had to make a mini-golf hole using supplies around the office.  Last year it was more subdued with Food & Drink from Around the World.  This year we decided on a Carnival (Circus) Theme and it was one of our best yet.

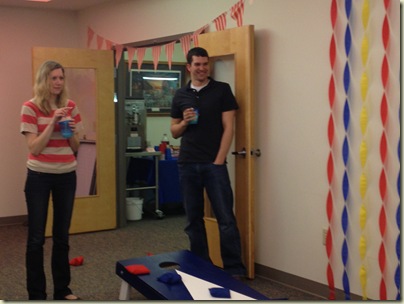
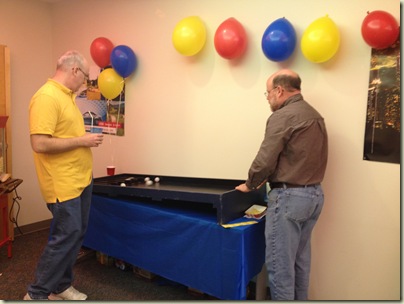
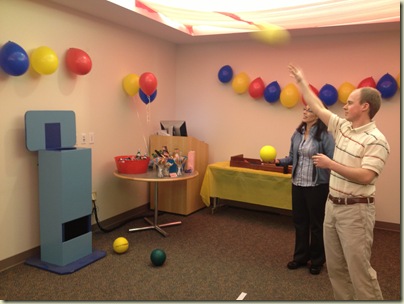
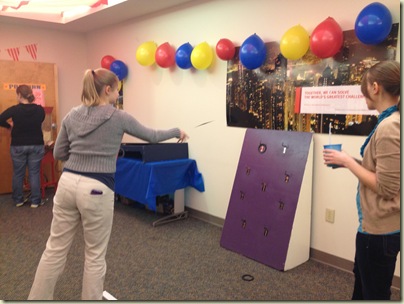
We rented a dozen carnival games from the Milw. Public School system.  They were $200 and they dropped them off and picked them up.  They were less expensive than other party rental companies and we liked that the money was going to the schools in the area. 

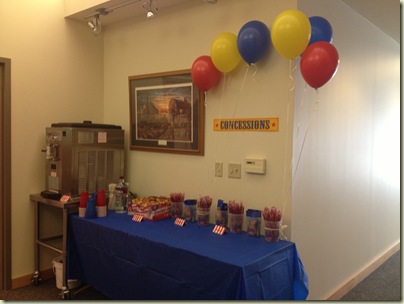
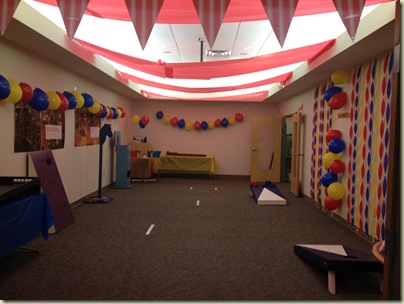
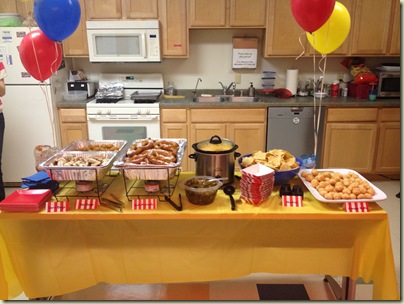
For decorations we decided on red, blue and yellow as the main colors and had balloons, streamers, tablecloths, and banners.  These were all bought from the Dollar store or Bartz’s party supply.  In total they cost about $100.

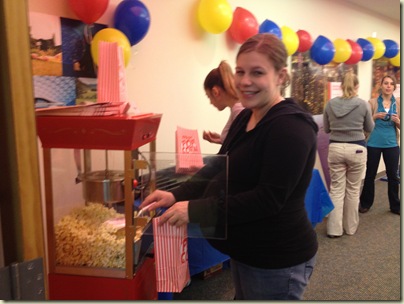
Food included jumbo pretzels, nachos, mini corndogs, mini cream puffs, licorice, lollipops, cracker jack, cotton candy, peanuts, and a popcorn wagon.  For drinks we had old fashioned soda, beer, and a slushy machine with lemonade.  The slushy machine can be rented, but we have a insider that got it for us for free for the day. 

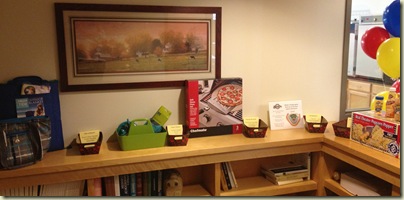
We also had five prizes (each $20-30) that we raffled off to the group.  They included a beach blanket with cooler and beach ball, popcorn popper with popcorn and seasonings, pizza grill stone with utensils, gardening kit, and a pair of Brewer tickets.  Everyone who played a game got five raffle tickets and they could put them in for whichever prize they were interested in.

2013 Carnival 0022013 Carnival 0012013 Carnival 0142013 Carnival 0042013 Carnival 0082013 Carnival 0152013 Carnival 0192013 Carnival 0232013 Carnival 0292013 Carnival 0402013 Carnival 027

Wednesday, July 17, 2013

Crazy, Busy

This has been one of the busiest and craziest summers that I can remember.  This is my event list from now until the end of August:

2 Weddings

2 bachelorette parties (I’m getting too old for these)

2 baby showers (Yay!)

A week at the lake (can’t wait!)

4 birthdays (including my own)

Company picnic (I suck at softball, but it won’t keep me from playing)

4K Orientation (4K already?!?!)

Most likely another trip up north over Labor Day weekend

And showings, showings, showings… will we ever sell this place?

Sunday, June 30, 2013

The calm before the storm

It’s 7:16am on the last day of June and I am sitting outside on our deck.  It is currently a cool 58F with a light breeze but I hear it will be a beautiful sunny day in the low 70s. 

We don’t utilize our deck as often as we really should.  We eat dinner out here a couple nights in the summer, but that is about it.  So I thought I’d spend some time out here before the storm comes.  Oh, that’s right, its supposed to be nice today. 

Jacob will be waking up in about a half hour and he is the storm I’m talking about.  Every weekend morning he wakes up and the first words out of his mouth are “how long did I sleep for” and then “do you want to play with me”?

Oh my dear Jacob, can’t we just sit quietly while I wake up and have at least one more cup of coffee?  Must we play the moment you open your eyes?  I know one day he won’t want to play with me and I need to cherish these moments. 

My usual response to him is “why don’t you sit next to me on the couch so we can cuddle for a few minutes” which will last about 30 seconds and then he has thought of what he wants to play.  This isn’t quiet play either, usually it’s soccer or fighting dragons.

SIGH…

Well, I have a few more minutes to enjoy the birds singing outside before the non-stop play machine wakes up.  I hope you all are enjoying your summer to the fullest!

Saturday, June 1, 2013

Wisconsin State Parks

Camping season is here!  I’ve been camping since I was 2-3 years old.  My parents took us kids all the time and I loved it and still love it.  Something about sleeping in a tent while it is raining outside that is so calming (until you realize you have to pee).  Or sitting by the campfire on a cool night mesmerized by the flames.

My parents would take us for a week to Big Muskellunge Lake at the Northern Highland-American Legion State Forest group site 10G.  We would camp with my parent’s friends and there would be about 30 of us.  This site was always fun with our own private beach and it was huge!  At least to a kid it seemed that way.  It’s north of Rhinelander and West of Eagle River.

Big Muskellunge Lake

As a kid and an adult I’ve been to Devil’s Lake in Baraboo. This park is probably one of WI’s most popular state parks due to the deep lake which people use for scuba diving and also the hiking trails that come in many difficulty levels.  The high bluffs create some difficult hikes and for rock climbing, but the views at the top are awesome. I’ve camped at the single sites and also at the group sites.  The single sites are more open to other campers, but they are closer to the lake and trails.  The group sites are nicely wooded and are on the opposite side of the lake but there is one trail nearby that will take you to the more populated areas.  This is a great park to visit for a day of hiking.
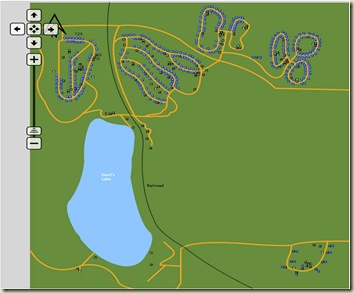
Devils Lake

Mirror Lake is another park nearby Devil’s Lake which I’ve camped at with my girlfriends.  I don’t think I’ve actually been to the lake at this site, just camped.  The sites are wooded and fairly big for a single.  It doesn’t have a lot to offer, but it’s close to Devil’s Lake so we could make a quick drive over and do some hiking.  It’s also just down the road from Ho-Chunk Casino which is a fun activity if it’s raining. 
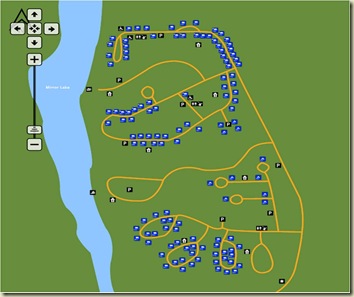
Mirror Lake

Jamie and I camped with some friends at Lake Kegonsa.  Jamie’s cousin was getting married near Madison and I decided we should go camping near there instead of getting a hotel room.  Some of you probably think I’m crazy, but the bathrooms had electricity so I was able to shower, do my hair and makeup and then leave straight for the wedding.  This had nice wooded sites and I believe hazelnut trees, since Brian’s girlfriend got hit on the head with a nut that fell from a tree and she had quite a bump.  We went in October, so we didn’t check out the lake.

Lake Kegonsa

One of my favorite camping spots is Merrick State Park.  This is right on the Mississippi and we like to get the walk-in sites 78-80.  I’ve been here with my family when we reserved all three sites and Jamie and I have gone with friends.  It takes a few hours to get there, so I prefer if we can camp from a Fri – Mon to make use of our time.  This site is literally on the river and you can fish right from your campsite.  The walk-in isn’t too bad, flat and easy enough to get your supplies in.  I prefer site 80 so other people aren’t passing by throughout the day.  I highly recommend checking out this park if you have the time but I would go mid-late summer. Oh, and watch out for poison ivy, Mike got this one year.

Merrick State Park closeup

Another one of my favorite camping spots is at the Kettle Moraine Southern Unit. This park is very large and we’ve camped at Ottawa Lake and Pinewoods. 

Ottawa Lake is our preferred spot.  We have done both the regular sites and also the walk-ins.  The regular sites are nice, some more private than others, we’ve liked sites 381 & 388. This is where we took the little guy for his first camping trip (he was only 9 months old).  We have done both walk-in sites 334 & 335.  These are very far away from the other sites, about a 1/4 mile up hill.  We bring a dolly to lug all our supplies up to the sites.  When we do the walk-ins we also like to get a regular site (333) so we can use the walk-in for our party site and 333 for our sleeping site.  That way we can stay up late if we want and not bother those that are trying to sleep.  The lake here is really nice for swimming.  I really didn’t catch much fish, but you will see lots of fishing off the pier.  There is also a nice play area for the kids.  It’s not showing on the map, but the lake is on the bottom left side.
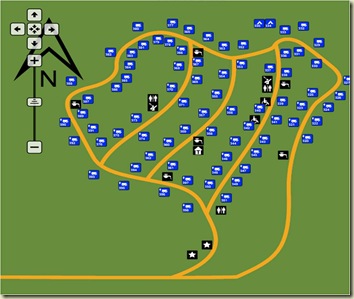
Ottawa

At the pinewoods site I’ve booked the group sites.  These are large and wooded.  Site D is flatter and I would say more dirty.  Site C is actually a walk-in site, so best to be prepared but it was nice and private.  This is located in the Southern Unit and it is a short drive to get to Ottawa Lake.
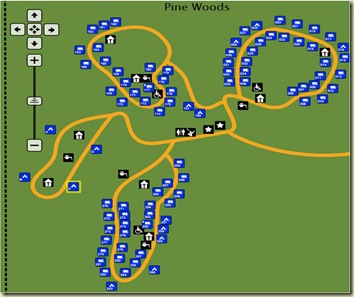
Pinewoods

(I’ve been to the northern unit once and I don’t remember enough about it to make a good review) 

Last year we went with a big group to High Cliff State Park on Lake Winnebago.  The group sites were in a field with no big trees around.  Unfortunately we went on a really hot weekend and had no shade.  Even napping in the tent was too hot.  But the lake was great!  It is shallow, about knee height, for at least 100 ft before getting deeper.  So it’s great for little kids.  But bring water shoes or wear sandals because it was a bit rocky. 
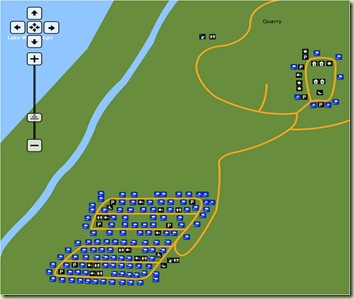
High Cliff

Last weekend we went to Kohler-Andrae State Park in Sheboygan right off Lake Michigan.  I got the last site (87) but it was in a really good location.  There was a pit toilet very close, but the flush toilets and showers were just a short walk away.  We brought our bikes and took them out several times during our short stay.  The beach area looked really nice, but it was too cold to go in.  There is also a really nice play area for the kids and the swings were also great for adults.  I would definitely go back here again.
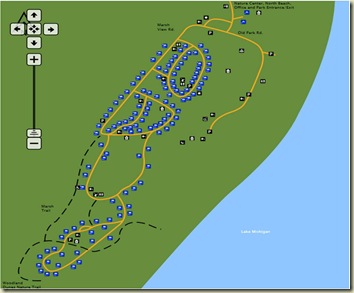
Kohler-Andrae

Well, that just about covers all the state parks we have been to.  What state parks have you been to? 
Saturday, May 18, 2013

De-Thatching

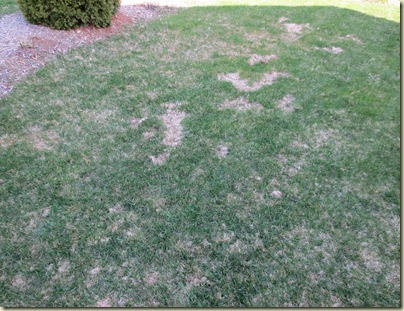
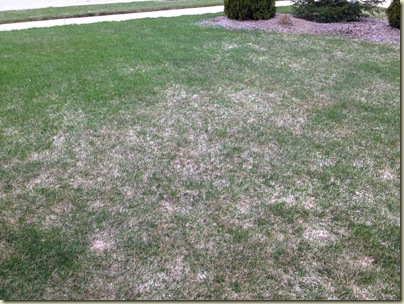
This spring we decided to dethatch the lawn.  Thatch is the build-up of dead grass within the lawn.  It doesn’t allow air and water to get to the roots and just makes the lawn look ugly. 

We’ve lived in the house 9 years and have never dethatched before. Our first year, the lawn was in pretty bad shape. We did our best on our own, but then had to get a lawn service to really get it back in shape. Over the years I’ve had plenty of neighbors stop by and say how nice our lawn is. But this past winter was particularly hard on our lawn and we had a lot of thatch and patches of dead grass all over.

Landscaping 2013 006Landscaping 2013 035

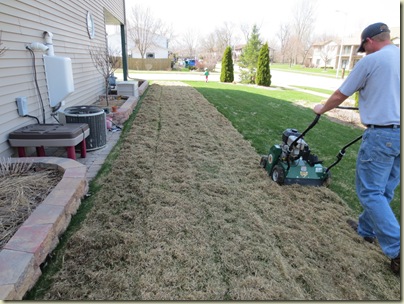
We rented a Power Rake from our local rental store and with a $5 coupon we got it for $27 (tax included) for 2 hours.  It takes just a little longer than mowing your grass, so 2 hours was plenty of time for us. 

The first thing you have to do is cut the grass at least once.  Raise the tines of the Power Rake all the way up, then try it out and drop it down as needed so it is only raking up the thatch, and not all the grass and dirt too.

We had ours almost all the way up and it was perfect for our lawn. This thing isn’t self-propelled like the lawn mower, so Jamie did the dethatching. The first pass was amazing and almost embarrassing!  Look at all that thatch!

Landscaping 2013 020

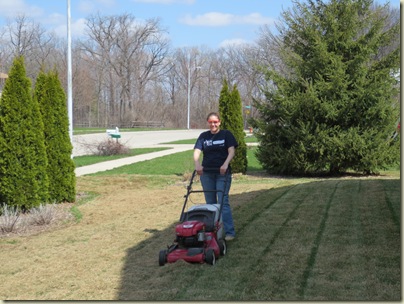
Next up is getting rid of all the thatch.  You could rake it all up, but talk about getting a blister!  So I attached the collector bag to our lawn mower, set it up all the way and used the mower like a vacuum.  It worked great, but I could only do one pass before the bag was full and I had to dump it out.

Landscaping 2013 026

Like my use of safety glasses?!? It was windy and thatch in my eyes was not pleasant.  After all the thatch was removed the grass looked a bit dull and there were some really bad patches where we had to re-seed the lawn.  I re-seeded a few years ago with some good results so I used the same formula this time. 

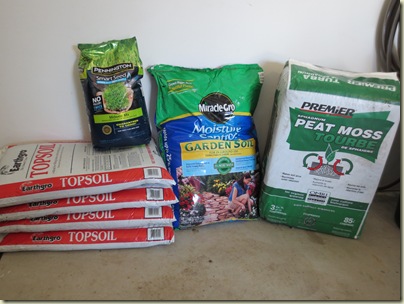
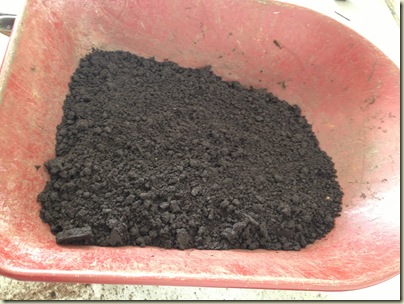
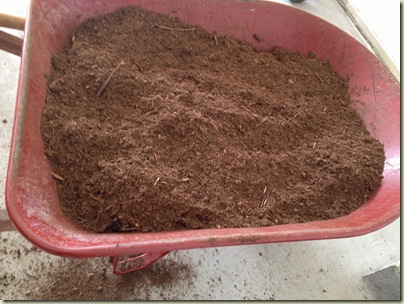
You’ll need topsoil (cheap stuff is fine, I picked mine up for $1/bag), MiracleGro garden soil, peat moss, and grass seed (7lb bag was just enough to patch our lawn). 

Landscaping 2013 001

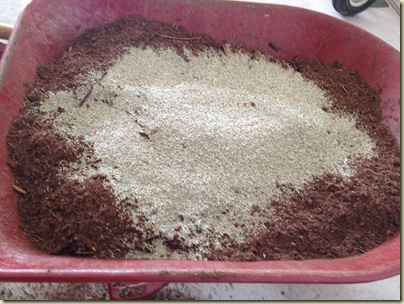
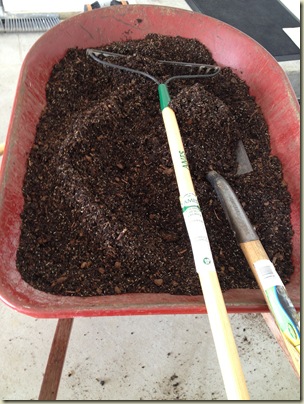
I mixed one bag of topsoil, 1/4 of the MircleGro soil, 1/8 of the peat moss and 1/4 of the seed in a wheelbarrow.  I had to repeat this 3 times to cover all the patches in our lawn.

Landscaping 2013 046Landscaping 2013 048Landscaping 2013 049Landscaping 2013 045

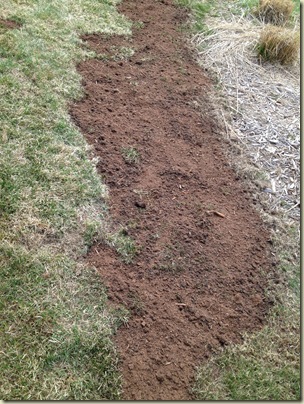
First break up the soil a bit where you want to re-seed (I used a small hand rake) and then put down the soil/seed mix.  After you have all your areas filled in cover them with a thin layer of peat moss.  This will help keep the area moist and keep birds from eating the seed.  Gently water the areas and keep watering every day until grass is starting to establish. 

Landscaping 2013 051

It’s been three weeks and our lawn is looking better than ever.  We do still use a lawn service and I made sure to let them know we were dethatching before they treated for the first time.  The areas we patched are filling in nicely, although not entirely yet. 

Dethatch time lapse

If you are wondering what we did with all our bags of thatch, I have a co-worker that has a lot of land and she took it home for her compost.  I highly recommend finding someone to take it for compost, because it won’t ever decompose in a landfill.