Monday, December 31, 2012

Happy New Year!

As we close out 2012 I am thinking ahead to 2013.  We hope this year will bring many great memories for our family and yours.  2013 will bring Jake turning 4 and starting school!  We will hopefully be out of this house and in a new one (not sure where yet, but we are excited to find it).  And Jamie and I are planning our first trip to Germany to visit our good friend Brian and his wife Eva.

Happy New Year!

Friday, December 28, 2012

Blogger Stats

Recently I noticed that I can view the stats of my blog.  It’s actually really cool to see how people find your blog or where they are located throughout the world.  Oh yeah, my blog is global!

When I first log in I can see my blogs and under shell-zone it says there are over 8,300 page views.  I’ve been at this for 4 years which is over 2000 views per year and over 6 views per day! 

image


Now I only have 8 followers and my Mom two of them.  So why are so many people looking at my blog?  When you click on the number of page views it will bring up an overview.  You can view this by day, week, month, year or all time.  Below is my all-time views and here I can see which posts are most popular, the top three sites where people find  my blog and the world-wide audience.

image


You can expand the posts, traffic sources and audience to see more of the detail.  The posts gives you the top 10 posts.  The traffic sources will break it down by Referring URLs, Referring Sites and Search Keywords. 

image

image


The audience tells you where in the world people are viewing your blog.  The US is the highest but it’s fun to see countries such as Australia, India and China on the list.

image


One of my favorite stats was the keywords that people search and then arrive at my blog.  I’m actually shocked that someone searched for Hiny Hiders and I hope the person that searched for eggies instructions decided not to buy those eggies after my review.

Sunday, December 23, 2012

Shark Steam Pocket Mop

011

I don’t like cleaning the house. I mean who really does?  But the one chore that I don’t mind is mopping the floor.  I remember having to do this at my parents house and they had a squeeze mop which was kind of fun to use. 

Since then, mop manufacturers have come up with easier and faster options for cleaning the floor.  I bought a Swiffer Wet Jet a few years ago and this does work faster, but I would not say it is better.  Perhaps if you use it every other day it would keep up with the deeper dirt.  But being that I hate cleaning, I only use it once a week. 

We have a white laminate floor and it has this grey hue to it.  We have a squeeze mop just like my parents had and I use it about once a month to try and get it more clean, but I’m not sure it really does much better than the Swiffer.  I’ve even tried different floor cleaner and a homemade one I found on Pinterest. 

The only time I felt I got a great clean was when I went Snow White style and got down on my hands and knees with a scrub brush, but who’s going to do that every time?  Not me!

Jamie saw the Shark Steam Pocket Mop and almost bought it for me for Christmas.  But being the smart husband he is, he decided that would not be an appropriate gift and instead told me about it.  So we looked into it online and found the best deal at Walmart.  It was originally $69.00 but it is on sale for $39 + tax, free shipping site-to-store. We bought model number S3501WMZ.

This mop only uses water, no cleaning solutions.  It heats up the water and steam cleans the floor.  This one comes with two cleaning pads that are machine washable. 

Here’s the floor after sweeping:

008

Here’s the floor after the Swiffer and you can see how dirty the cleaning pad is.  Yuck!

009

Here’s the floor after using the Steam Pocket Mop:

014

You can see that the steam mop was able to pick up even more dirt which I’m not surprised by.  The floor is definitely whiter, but not as much as I would like.  I think this will take a couple more times before we can really see a great difference. 

It says it works on all floor types, including wood.  I’m a bit surprised since I assume water and wood are not compatible.  It does say that the floor must be sealed.  If any of my family or friends want to try it on their wood floors just ask and you can borrow mine and check it out.

Here are some pros and cons from my first use:

Pros: easy to assemble, water reservoir easy to fill, light weight, adjustable height (perfect for my husband which is a foot taller than me), long cord.

Cons: took a while to create really good steam and doesn’t really glide along the floor (it’s a bit of an arm workout).

So far it’s a keeper, but I haven’t washed the pad yet.  It will be interesting to see how they hold up in the wash.

Sunday, December 2, 2012

Keurig

This summer I received a Keurig for my birthday.  I started drinking coffee when I moved over half an hour from work and I needed something to help along the drive.  To get used to the flavor I started by using half hot chocolate half coffee and every week or so I would add less hot chocolate until I could accept the coffee on it’s own (black). 

Jamie likes to drink White Russian coffee which has no alcohol, but rather just has a hint of the smell and flavor.  He will drink the entire pot and would often be disagreeable if I took a cup to work.  I hate the coffee at work so I was thrilled to receive the Keurig.  I keep it in my office and it makes it smell wonderful.

I own the Elite 40 model which is perfect for me.  I can fill up the reservoir and it will last all week if I keep it to one cup a day.  Work recently installed a 5-filter system to our drinking water and it causes absolutely no residue in the reservoir which will help it last longer.

The unit comes with a variety of coffee, but most of it I knew I wouldn’t like.  I don’t like bold flavors or most teas, so I searched for a variety pack I could try.  I found on Amazon.com a vendor that will let you pick your own variety of 30 k-cups.  This was perfect and I picked out 30 different flavored coffee, chai tea, hot chocolate and cappuccinos.  Here is my list and my reviews on the flavors.   

1. Folgers Caramel Drizzle: bad

2. Folgers Vanilla Biscotti: good – smooth and mild flavor

3. Gloria Jean's French Vanilla Supreme: ok, a little tangy, not as smooth as #2

4. Gloria Jean's Mudslide: eh, tastes like coffee

5. Donut House Chocolate Glazed Donut: good – smooth w/hint of choc, smells great

6. GMC Donut House Cinnamon Roll: eh, no good

7. Green Mountain Caramel Vanilla Cream: good – smooth with medium flavor

8. Green Mountain French Vanilla: ok – a little tangy, better with FV creamer

9. Timothy's Cinnamon Pastry: very cinnamonny, makes it taste too bitter

10. Timothy's French Vanilla: bad

11. Timothy's German Chocolate Cake: too bitter

12. Timothy's Irish Cream: no

13. Timothy's Mocha Java: missing

14. Van Houtte Belgian Chocolate: eh

15. Van Houtte French Vanilla: a little bitter

16. Van Houtte Mocha Java: no

17. Van Houtte Napoletano: no

18. Van Houtte Raspberry Chocolate Truffle: good, can taste raspberry flavor

19. Wolfgang Puck Creme Caramel: boring

20. Wolfgang Puck Francais Vanilla: ok

21. Wolfgang Puck Jamaica Me Crazy: good, a hint of coconut

22. Cafe Escapes Chai Latte: Great!

23. Celestial Seasonings India Spice Chai Tea: More like hot tea w/hint of chai

24. Cafe Escapes Milk Hot Chocolate: gave to Kim and she really like it

25. Cafe Escapes Dark Hot Chocolate: ok

26. Cafe Escapes Cafe Mocha (½ choc&coffee): ok, but more like hot chocolate w/o ½ coffee

27. Grove Square Spiced Apple Cider: good cider

28. Grove Square Caramel Apple Cider: good, can taste the caramel

29. Grove Square Caramel Cappuccino: Good, but not as good as the FV

30. Grove Square French Vanilla Cappuccino: YUM!!!

I tasted all of these without any creamer or sugar to make sure I got a good taste.  From this variety I decided to stock up on the Folgers Vanilla Biscotti, Café Escapes Chai Latte, Grove Square French Vanilla Cappuccino and another not on the list which is Green Mountain Spicy Eggnog which is a flavored coffee.

Friday, November 9, 2012

Healthy Ice Cream

I had found a recipe for one ingredient ice cream.  All you need is bananas, that’s it! No salt or ice cream machine required for this.  To start you slice a couple bananas and put them in the freezer for about an hour. Once they are frozen you add them to a food processor or blender.

recipes 006

I only have a 4 cup mini-prep processor but we love this thing. We use it all the time for chopping and blending. I decided to add peanut butter and cocoa powder to my ice cream but it’s up to you want you want. 

recipes 007

As you blend the frozen bananas they start to thaw and become creamy.  That is when I added the peanut butter and cocoa.

recipes 008

It definitely has a banana flavor so if you don’t like bananas you probably wouldn’t like this too much.  But it has the same consistency of ice cream and I love that it’s more healthy than store bought ice cream and super easy to make!

Sunday, November 4, 2012

Banana trick

I always have bananas in the house.  They are an easy fruit to eat and take with you on the go.  When Jake was starting solids I enjoyed the ease of feeding him a banana, but of course he couldn’t eat an entire one.  I would sometimes help him out, but I wished I could keep it for later. 

While browsing the stores I came across the Nana Saver.  You cut a banana in half and then place the Nana Saver on the cut end which would keep the end from getting all brown and gross. 

Nana Keeper2

I used it for a while but it never really worked like it was supposed to.  But it was only a couple bucks so it wasn’t a huge disappointment.

Recently with all the Banana Yogurt Smoothies I’ve been making I use many bananas.  Sometimes it’s hard to find small bananas and I have to cut them in half or thirds and since I lost the Nana Saver (or more likely threw it away) I found a better way to save my bananas.


Banana 004


I learned that all you need to do is cut the banana with a sharp knife.  Yes, the end will get all brown and gross, but it creates a natural barrier for the rest of the banana.


Banana 005


I’m not sure how long it takes for it to get like this, but this is a day after cutting.


Banana 009


This layer is actually quite thin and you only need to cut a small layer away to get back to the good stuff. So there is no need to buy a banana keeper or throw out a perfectly good banana if you only want part of it. 


Banana 010

Monday, October 29, 2012

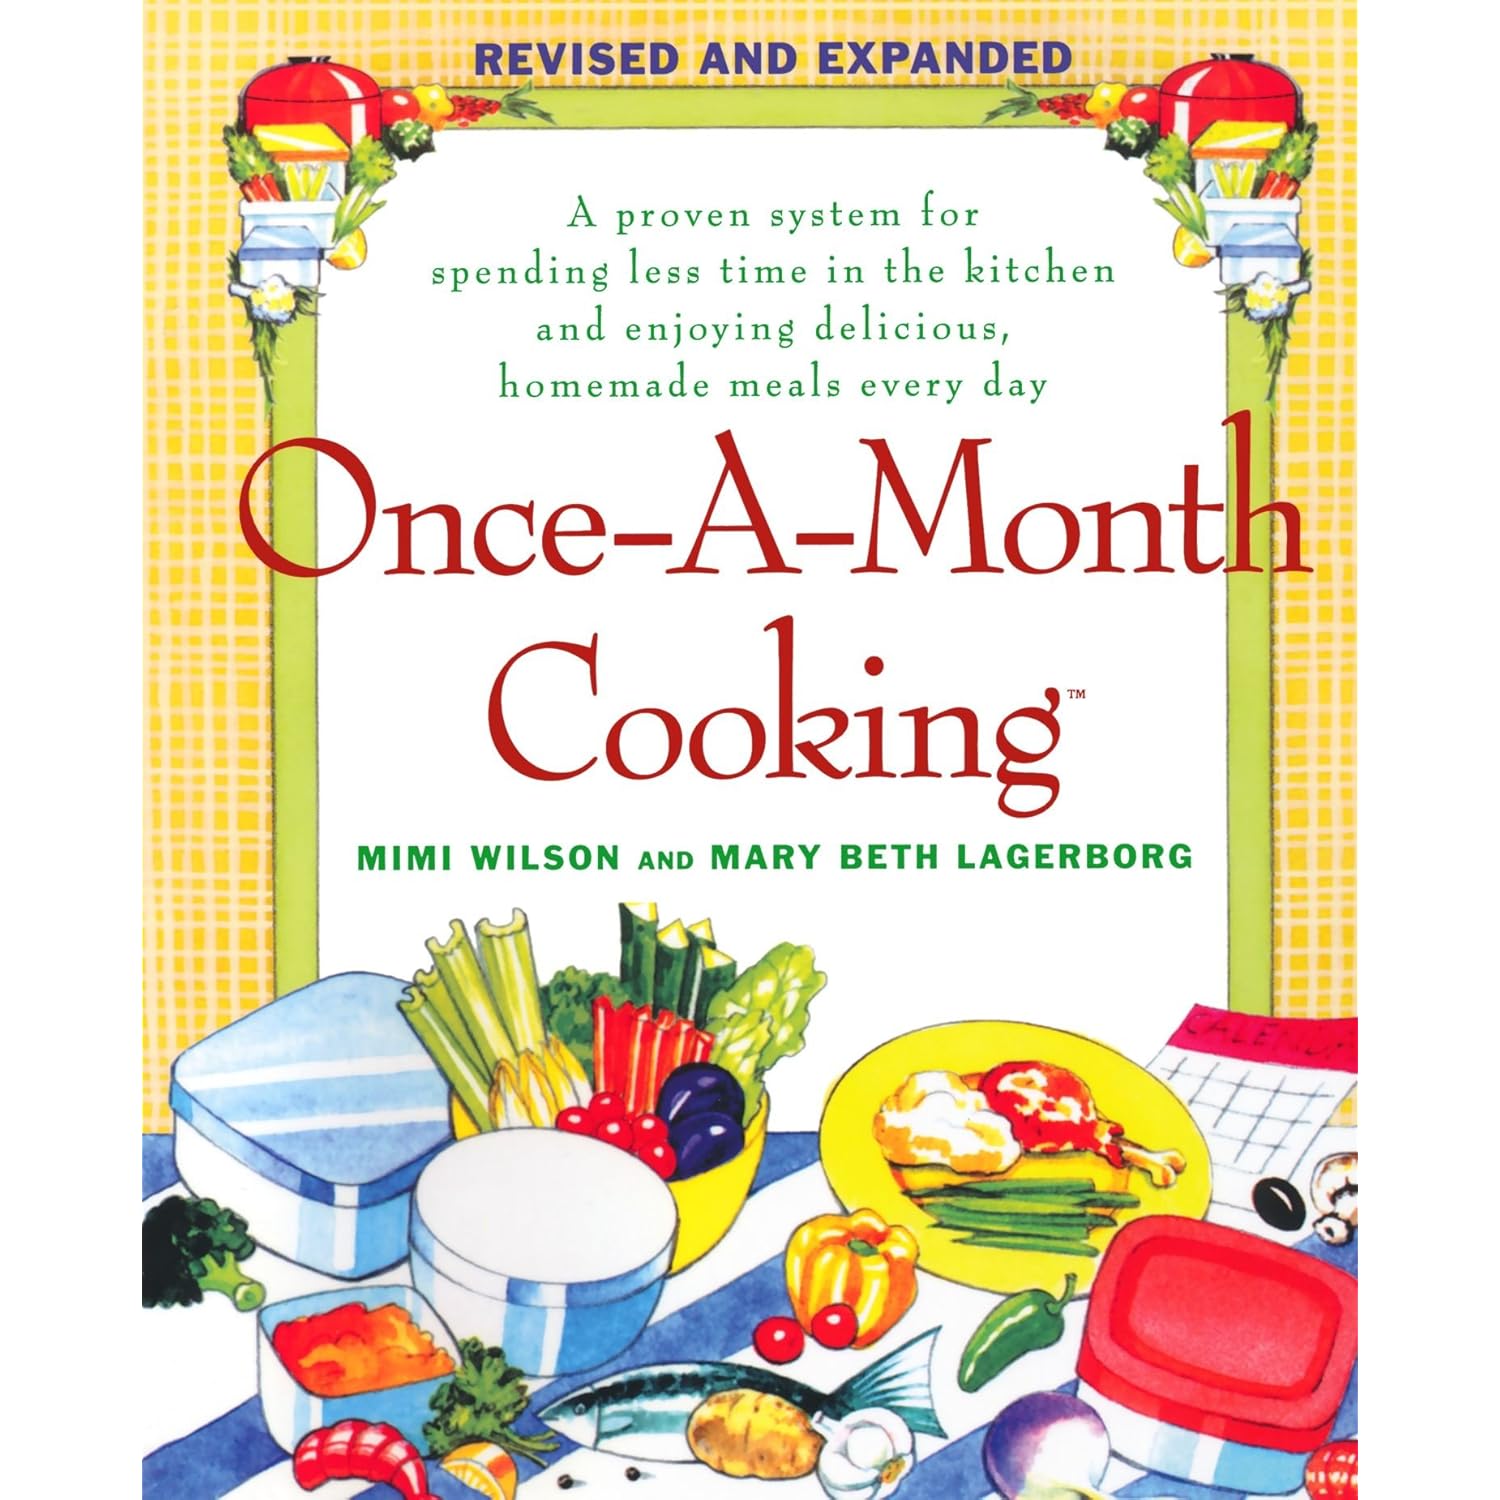
Once A Month Cooking

Have you heard of Once A Month Cooking?  It’s where you gather everything you need for a month worth of meals, make them all in one weekend and then freeze them to eat all month.  It’s all the rave and there are quite a few blogs about it. 

http://once-a-monthcooking.com/

http://onceamonthmom.com/

http://www.frugalmom.net/blog/in-the-kitchen/freezer-cooking-in-the-kitchen/7-steps-to-once-a-month-cooking/

There’s even a book on it if you are inclined to read more about it.

Now I don’t partake in this event.  I don’t cook dinner every night, or even once a week.  I cook dinner once a month, maybe twice if I have to.  You see, my husband likes to cook and if he wants a good meal he knows he should make it himself.  It’s not that I don’t know how to cook, I would just rather eat it than make it. I mean why spend all that time chopping and sautéing and cooking and seasoning and then only spend 10 minutes enjoying it? 

Don’t think that I get off too easy.  I do heat up leftovers and make vegetables for a side dish most nights. If I didn’t all we would have for dinner is meat and potatoes and maybe some bread.  I will admit that I am horrible at making garlic bread. I burn it Every… Single… Time… And if you still think I have it made with a husband that cooks, we do have a rule in our house:

“Whoever doesn’t cook the meal has to clean up the meal and all the preparation dishes too.”

Recently though, I came across a recipe on Pinterest that I decided to make one night.  If you ever check my Food board on Pinterest you will not find much there (at least not for dinner).  So here’s a meal that I made last month and I think it turned out well.

Chicken Crescent Roll Casserole
adapted from Recipezaar.com

2 (8 ounce) cans Pillsbury Refrigerated Crescent Dinner Rolls
1 (10 3/4 ounce) can 98% fat free cream of chicken soup, undiluted
3/4 cup grated cheddar cheese or swiss cheese
1/2 cup milk

Filling
4 ounces cream cheese (very soft)
2 tablespoons butter (very soft but not melted)
1/2-1 teaspoon garlic powder
1 tsp minced onion flakes
2 large cooked chicken breasts, finely chopped 
1/2-3/4 cup finely grated cheddar cheese
1/2 tsp seasoning salt
1/2 tsp ground black pepper (or to taste)
2 Tbsp. milk
1-2 cup grated cheddar cheese (for topping)

Set oven to 350°F. Spray a 9x13 dish with cooking spray. Mix together milk, 3/4 cup cheese and undiluted chicken soup (can season with black pepper if desired).

For the filling --- in a bowl, mix the soft cream cheese with butter until very smooth, then add in garlic powder. Add in the chopped chicken, onion and cheddar cheese; mix well until combined. Add in 2 tablespoons milk; mix to combine (add in a little more if the mixture seems too dry). Season with seasoned salt or white and black pepper to taste. Unroll the crescent rolls.

Place 1 heaping tablespoon chicken mixture (or a little more) on top of each crescent triangle, then roll up starting at the thicker end. Drizzle a small amount of soup mixture on the bottom of the dish. Then place the crescent rolls seam-side down on top of the creamed mixture in the casserole.

Drizzle the remaining sauce on top and sprinkle with 1 cup (or more) grated cheese. Bake for about 30 minutes.
http://www.recipezaar.com/Kittencals-Chicken-or-Turkey-Crescent-Roll-Casserole-78814

recipes 001

recipes 003

recipes 004

Not too shabby if I do say so myself!

Saturday, October 27, 2012

Witch Costume

Jake wanted me to dress up for Halloween too and who can resist a three year olds request?  I do like dressing up but I haven’t for a few years.  I asked him what I should be and then suggested a witch and his eyes lit up and said “yeah, a witch!” 

I don’t have any step-by-step pictures for this one, but everything was from what I found online and Pinterest.

I loved this skirt from Etsy, but it isn’t on there anymore. 

Witch Skirt

I looked around online and found that making these types of tutu skirts is fairly easy.  I used this tutorial to make a no sew skirt. 

No Sew Halloween Purple Witch Costume - DIY Halloween Costume

I bought 3 yards each of black, purple, green and orange tulle which was 3 yards for $4 at JoAnn’s. I cut 18 strips of each color approx. 5'” wide.  I left the colors all the same length, but I cut the black strips in half.  I was hoping this would make it darker on top (hiding my behind). 

I ended up removing half the orange and green strips.  I did sew on a black ruffle I found at JoAnn’s along the top to give it a more finished look.  In the end it was still a bit see-through so I ended up wearing my black skirt swimsuit bottoms underneath for added security and warmth.

This blog told me that the tights can be found at Target.  I couldn’t find the green/black so I went with the purple/black and they are perfect!

Photo from How I Keep Sane

For the hat I found two great tutorials.  I used them both to come up with my design.  I used the first on for the base and head band attachment and the second one for the point of the hat.  I also added a little purple tulle flower.  In all this cost me around $2.

Photo from Prudent Baby

Photo from Delia Creates

For the top I just wore a plain black long-sleeve shirt and used extra black and purple tulle to make a scarf.  It was a little scratchy.  The shoes were black heels from my closet and are the most comfortable (actually the only comfortable heels) that I own.

022

021

I’ll try and update the pictures after I wear it out tonight and put on some fun makeup. 

Thursday, October 25, 2012

Dragon Costume

Halloween is just days away but starting in early October I asked Jake what he wanted dress as.  The last few years I just bought his costume and he willing wore it.  But since he is now starting to get the idea of Halloween I wanted him to decide what to wear. 

He had quite a few ideas such as a robot, superhero, R2D2, dinosaur and dragon.  Every day he would say something different, but eventually he kept saying dragon, so that’s what we decided. Of course half way through making the costume he changed his mind back to a superhero, so we had to let him know it’s too late.  He seemed to take it well once he saw his costume.

I was hoping he wanted to be a red dragon but he was insistent on a green dragon.  My idea was simple, buy a green hooded sweatshirt and matching green sweat pants (2 pair so I could use an extra leg to make the tail), but I couldn’t find anything.  They had plenty in red, blue, grey or black, but no green.  I checked Wal-Mart, Kmart, Sears, JC Penny, and finally Kohl’s. 

It was at Kohl’s that I did find a cute green pullover hooded fleece sweater with a dinosaur on it which I decided would have to work.

hooded fleece

Of course there was no matching pants, so I had to make those.  I found some green fleece at JoAnn’s that matched close enough.  This was my first attempt at making pants but I didn’t think it would be too hard.  I figured I could just take an existing pair and cut two pieces and sew them together. 

001

Luckily I found this blog explaining the proper way to make pants before I cut any of the fabric. I made a template on a paper bag and used my yard stick to mark for seam allowance and also because I wanted him to be able to wear them over another pair of pants. I don’t have any pictures, but the blog link above explains it all step by step.

003

Next up was the tail.  I found this great blog on dragon tails, but they were straight and I wanted Jake’s to be curved up at the end.  So first I drew a picture of what I wanted it to look like, then drew it on a paper bag, then cut out the fabric by placing the template bottom on the fold.

dragon tail

I also wanted to continue the spikes on the head of the sweatshirt onto the tail, so I bought blue, yellow and orange fleece to match.  I made some the same size and two sizes larger and attached them to the tail pointing towards the middle.  Fold the fabric onto itself and sew it up. Turn it inside out and stuff it.  For better instructions and to see how to add the strap and finish it up see the blog link above.

dragon tail2

Now at this point the costume could be either a dinosaur, alligator or dragon, so I decided it needed wings to make it clear he was a dragon.  So of course I found another blog on how to make dragon wings.  And for the fabric I found this amazing skin-like material in a gold metallic. 

029

I have no pictures on how I made the wings, but I followed the tutorial and used metal hangers to give it form.  I made them a bit larger, so I had to cut the hanger into more pieces and it doesn’t lay as nice, but it still looks pretty cool.


And finally, here he is in his dragon costume.  He loves it and I’m so glad I was able to make his Halloween costume.  Next year I think I’ll just take him to the costume store and let him pick out what he wants.

dragon

Saturday, October 13, 2012

A Box of Sunshine

This Summer I had a wonderful intern, Amy.  In the past 12 years I’ve had an intern almost every Summer and there have been good ones and not so good ones.  I would rate Amy at the top of the list with a select few others. 

What makes a good intern?  Well, that’s a tricky question but overall they listen, follow direction, are good thinkers, have a positive outlook on constructive criticism, are engaging, ask questions, and are willing to learn.  Amy is only starting her Junior year which is young for our interns, but she showed a high level of professionalism and was a pleasure to work with.

As her last day neared, I saw an idea on Pinterest about a Box of Sunshine as a get well soon gift.  I decided this would be a great care package to send her back to college with.  The box is filled with all things yellow.


031

My particular box included yellow cake mix, lemon poppy seed muffin mix, microwave popcorn, peanut M&Ms, Milk Duds, Juicy Fruit, Burt’s Bees lip balm, Shea butter soap, yellow loofa and shower gels, lemon kitchen clean candle, Ricola cough drops, Cabana lemonade, sunflower kitchen towel, two yellow cookie cutters, yellow flower pot with potting soil and marigold seeds and a recipe for homemade sugar cookies and frosting.


030

I found this Crate & Barrel box in my closet and it was perfect.  The bow was already attached and I decided just to give it as it was.  I did tell her that it wasn’t from Crate & Barrel, but she didn’t seem to mind. 

Most of what I bought was around $1 or a little more so in all I think I spent around $20-25.  She sent me a note of appreciation and said her roommates are enjoying the box and the marigold flowers were growing in a window. 

Saturday, October 6, 2012

I want your blood!

The other day I received a call from the BloodCenter of Wisconsin urging me to donate ASAP as they had less than a one day supply of O- blood, my particular blood type.  You can donate whole blood every 8 weeks and since my last donation was in early August I was eligible again.  My issue, however, is that I am anemic and you have to have an iron count high enough to donate so I knew I wouldn’t be able to donate that day or the next.  I have to take iron supplements to build up my iron so I can donate again, so I made my appointment for this Thursday.  As you can see, it isn’t easy for me to donate, but I do what I can to help save the lives of people I don’t even know. 

I started donating blood in high school and did so a couple more times until I started getting faint after donating.  This was my excuse for not donating.  I’m not saying I like needles, that was a fear I first learned to overcome. 

When I was a little girl I had to give blood at the doctor's office.  I can’t remember why, but I do remember they had about 4 nurses in there holding me down to get the needle in my arm.  I was told to think of something else, something I really liked to keep my mind off the actual needle.  What do you think a little girl would think of?  Going to the playground, having a sleepover, getting a new My Little Pony or a new Barbie doll?  Nope, not me, I was thinking of going to McDonald’s and getting a cheeseburger.  I think that is because this commercial had just come out and looking back, this could have been me!


Shortly after college I decided to try donating blood again and while I did get a little faint, I knew the importance of my blood type and decided to keep at it. 

Here are some facts I found at redcross.org and bcw.edu:

  • Only 7% of the population has O- blood, the universal donor.
  • Only 5% of the population that is eligible to donate do so.
  • Type O negative blood is the preferred type for accident victims and babies needing exchange transfusions.
  • Whole blood is only useful to patients for 42 days. After that, it “expires” and must be destroyed.
  • Donating blood is completely safe. You cannot contract any diseases from donating blood.
  • The body will replace the fluid portion of your blood within 24 hours. It will take a few weeks to replace the red blood cells.
  • On September 1, 2008 BloodCenter of Wisconsin began accepting donations from 16-year-olds (with parental consent) who are in general good health and meet the general criteria to donate.

Blood Type

Yes, O- is the most important blood type, but as you can see, I can only receive O- blood.  If the hospital knows your blood type they will give you type specific or another match other than O-.  If all the O- is used up and I come in needing blood they would have to find O- from another hospital or blood center and there would be nothing they could do for me until that time.  So every blood type is important, even for those people that can’t use it. 

I have my blood donor card right under my drivers license.  If I’m seriously injured I hope the medical person would open my wallet, take out my drivers license and see my blood donor card underneath.  This would tell them immediately that I am O- and can only receive O- blood.  I really wish all drivers licenses had the blood type listed on it.  This would save time, money and resources. 

If you have never donated blood I will go with you and help you as much as I can along the way.  I will hold your hand, tell you to relax, it will be over in less than an hour (the actual donating takes only 10-15 minutes).  And I will even take you to McDonald’s for a cheeseburger or whatever you want. 

Sunday, September 23, 2012

Bridal Shower Wine Basket

My family had a bridal shower today for my cousin’s bride-to-be, Jessica. Mom and I decided to do something a little creative for the gift.  I mentioned to my Mom a gift of wine with tags that tell the new couple when to drink them.  Mom took the idea to Pinterest and found someone that did just this!  The website is called Occasions and has a tutorial with printable tags in multiple colors. 

The tags were pre-made, so I just had to download and print them out on heavy card stock, cut them with a fun border and attach them to the wine Mom bought.  The tags are for:

  • Wedding Night
  • First Christmas
  • First Dinner Party
  • First Fight
  • First Anniversary
  • First Baby

Here’s the basket we put together:

023

Mom bought a wine and also a sparkling cider for the First Baby, so that’s why there are 7 bottles in the basket.

My next challenge was to wrap it all up.  I went to Wal-Mart looking for cellophane wrap, but I couldn’t find it anywhere!  I walked up and down the card aisle, party supply aisle, even the floral and basket aisle.  During my search I did find a plastic lace tablecloth. 

024

It ended up being perfect!  It was see-through enough so you could see the basket and the purple tissue.  The lace was feminine and bridal looking.

025

026

Everyone thought it was a great looking gift and Jessica didn’t even want to open it!  I’ll have to remember this gift idea (and tablecloth) for future bridal showers.

Sunday, September 16, 2012

Circle Collages

Conform: to act in accord with the prevailing standards, attitudes, practices, etc., of society or a group.

Synonyms: be conventional, be traditional, do the accepted thing, obey the rules, play the game, match.


Nonconformity: failure or refusal to conform, as with established customs, attitudes, or ideas.

Synonyms: rebel, maverick, radical, eccentric, free spirit, individualist, oddball.


These words drifted through my head when I was asked to look at the children’s circle collages at daycare.  They were each given the same number, color and size circles and told to make a collage.  Simple task for three year olds and even little 15m Gabe participated in the fun.  Here are how the kids did:


Luke is one of Jake’s best friends, they are very alike in their personalities.  They both want the same toy and often fight.

collages 005


Maverick is the new kid in the daycare.  I told Jake to tell him his name was Goose.  I find it interesting that Maverick is a synonym for nonconformist, so far he’s not really living up to his name.

collages 004


Ryker is another of Jake’s friends.  Honestly I’m not very familiar with him and who he really is.  But I do like the small circles inside the large circles, very creative!

collages 003


Gabe is only 15 months old and the youngest at the daycare.  He learned to walk and now run and tries to keep up the the big boys.

collages 002


And now for my son, Jake.  He is everything listed in the nonconformist, but he may also have a slight OCD issue.  He stacked the circles by color, then glued them all together and made a circle sandwich.  Very creative and nothing like me!

collages 001

I hope his teachers in school let him explore the world in his own way and don’t make him conform too much to society.  Yes, make him line up and obey the rules, but when creativity is involved let him do his own thing.  Maybe he will be in marketing or advertising when he grows up.

Saturday, September 8, 2012

Greek Yogurt

I’m sure you’ve all seen Greek Yogurt either in stores or in commercials.  The most popular brand in the U.S. is Oikos which may have to do with their spokesperson, John Stamos.  I’ve had a crush on him since Full House and I must say he has improved with age.  So dreamy!

John Stamos Oikos

Ok, back to reality.  For Greek yogurt I am not a huge fan of the Oikos brand or the Yoplait brand, but I do like the Yo-Crunch brand.  I love the packet of granola you can add to it which gives it a crunchy texture which I prefer.  But to each their own as there are plenty of brands out there.

I recently pinned a recipe for pizza dough which consisted of just two ingredients: 1 cup self-rising flour and 1 cup plain Greek yogurt.  I wasn’t able to find plain Greek yogurt in a small single serving cup, so I went ahead and bought a large container.  All you do is mix the two ingredients together and then knead for 5 minutes.  I used the pastry hooks on my hand-held mixer then rolled it out flat.  We baked it for about 7-8 minutes at 400F then topped it with sauce, cheese, pepperoni, sausage and more cheese.  We baked it for another 15 minutes or until the cheese all melted. 

I liked the pizza dough but Jamie was less impressed, so now I had a big tub of plain Greek yogurt and not sure what to do with it, but that very night my friend pinned a recipe for a Banana Yogurt Smoothie

bananamilkshakesm

This recipe is super easy and even though it was for a post-workout dinner I’ve been making them all week for breakfast.  

  • ½ cup Milk
  • ½ cup Plain Greek Yogurt
  • 1 small Banana
  • 1 Tbsp Peanut Butter
  • 1 tsp Honey
  • ½ tsp cinnamon

When I first made it I didn’t have any honey and even with the banana and peanut butter it wasn’t very sweet so I went out and tried it with the honey and it is much better.  This smoothie keeps me satisfied all morning and I no longer get hungry at 10am.

To make the smoothie I use an immersion blender that I’ve had for many years and only recently have Jamie and I been using it almost daily.  It is super easy to use and clean up.  If you like to make smoothies then this blender is perfect and it doesn’t take up much room in the cupboard either. 

immersion blender

Now all I need to do is find some recipes for the remaining self-rising flour I bought.  I’m sure there is lots to make with that!